 |
 |
 |
 |
 |
 |
 |
Home |
Info. |
Manuals |
Sizes |
Show |
Show |
(NEW ITEMS) |
 |
 |
 |
 |
 |
 |
 |
Home |
Info. |
Manuals |
Sizes |
Show |
Show |
(NEW ITEMS) |
 |
|
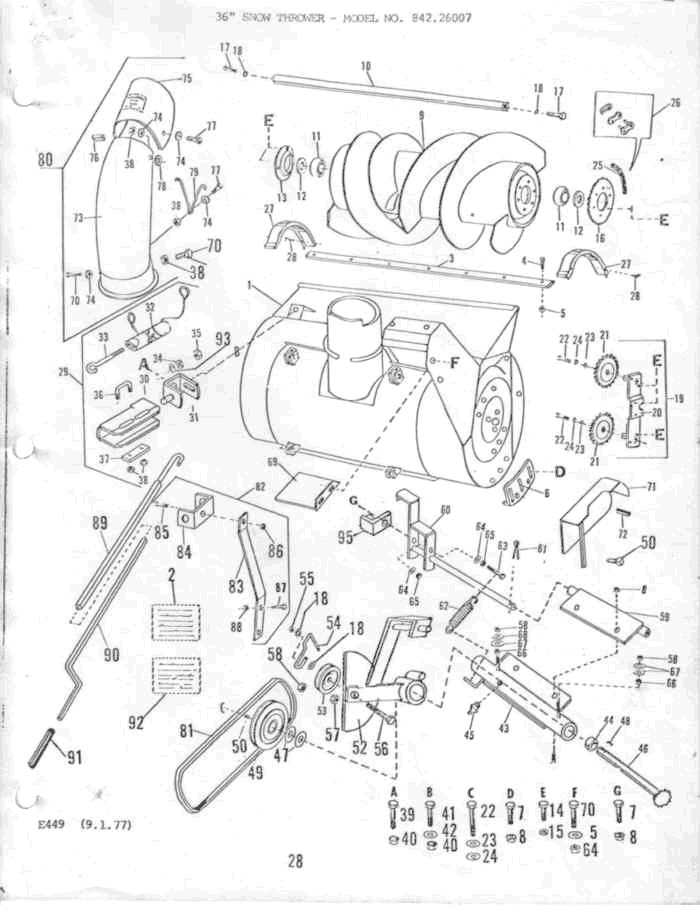
840...1140...1130...1630 1631...1632...1622 1. Take (2) clamping bars "A" mount to front axle, "B". Left side clamp has weldment which supports crank for turning chute. Take (4) 1/2-13 bolts 2 3/4 long and clamp bars on axle, do not tighten bolt at this time. 2. Adapter plate "C" line up 4 holes to adapter bars "A". Flanges are to front facing snow blower use (4) 3/8-16 x 1 1/4 bolts and tighten in place. 3. Slide snow blower into place, line up snow blower bracket with slots on bottom of adapter plate "C" and slide into place, take (2) bolts 1/2 13 x 2-3/4 and secure top of bracket. 4. Take drive belt "H" which is provided with snow blower and place belt over outside pulley of motor. Belt can be placed on pulley by sliding behind belt guard and over pulley. Bolt is already in place on blowers. 5. Take clutch arm linkage "E" and mount on right side of tractor frame- (2) 3/8-16 X 1 1/4 bolts will secure in place. Bolt handle "F" to linkage rod with 3/8-16 x 1 1/4 bolt. Place clutch rod "G" into position on blower and slide opposite end onto handle. Tighten set screw on blower and place cotter pin in clutch rod "G" to handle. 6. Line up blower pulley with motor pulley by sliding clamping bars "A" on axle. Tighten in place. 7. Lift bar "I" has 2-3/8 clearance holes. Line up front with bar on bottom of blower bracket and place 3/8 x 1 1/4 bolt in place. Opposite end of bar lines up with 3/8 tapped hole on bottom of tractor lift handle. Use 3/8-16 x 1 1/4 bolt. Use locking nut on bolt making sure lift handle moves freely. 8. Adjust clutch rod with set screw on blower to engage and disengage blower. CAUTION: Be sure to stay clear of belt and blower when engaging. 9. Shut off engine and check every bolt to be sure they are tight. 10. When lift arm on tractor is in forward position blower will be in down position. 11. Chute Control Arm: Slide front of arm thru bracket and attach to left side of blower. Slide handle end into back of arm. It is now ready for use. 12. On 1632 models a 5" x 1" I.D. pulley is provided for blower drive. Pulley bolts on motor shaft with key to mount pulley. Belt guard has to be removed. Place pulley on shaft with key in place and tighten bolt with washer, replace belt guard. 13. Grease fittings are provided on blower be sure and grease before running. 14. A sketch, along with parts are provided with each blower.     | Tractor Print | Mowers | | Return Home | Contact Info. | Tractor Manuals | Belt Sizes | Spring Show | Fall Show | Decals (NEW ITEMS) | |
||
